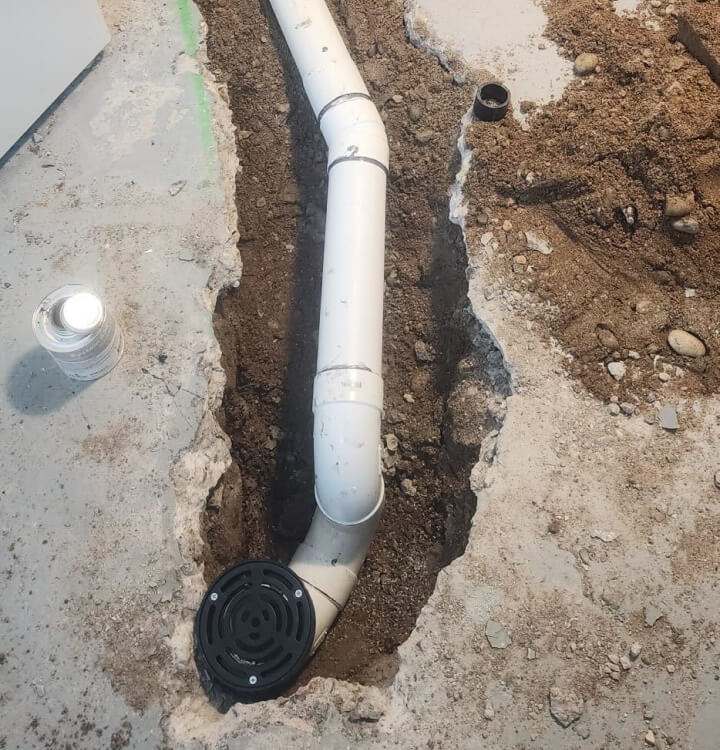
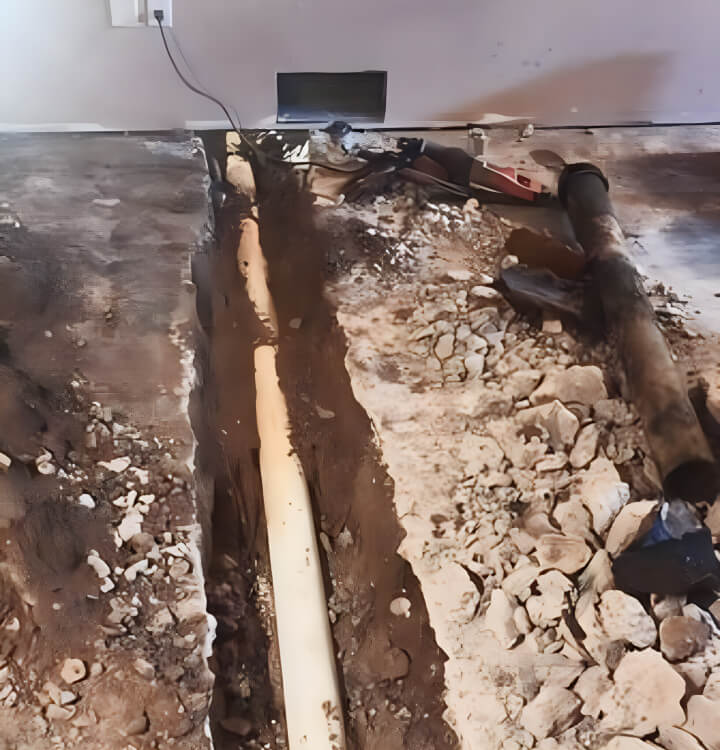
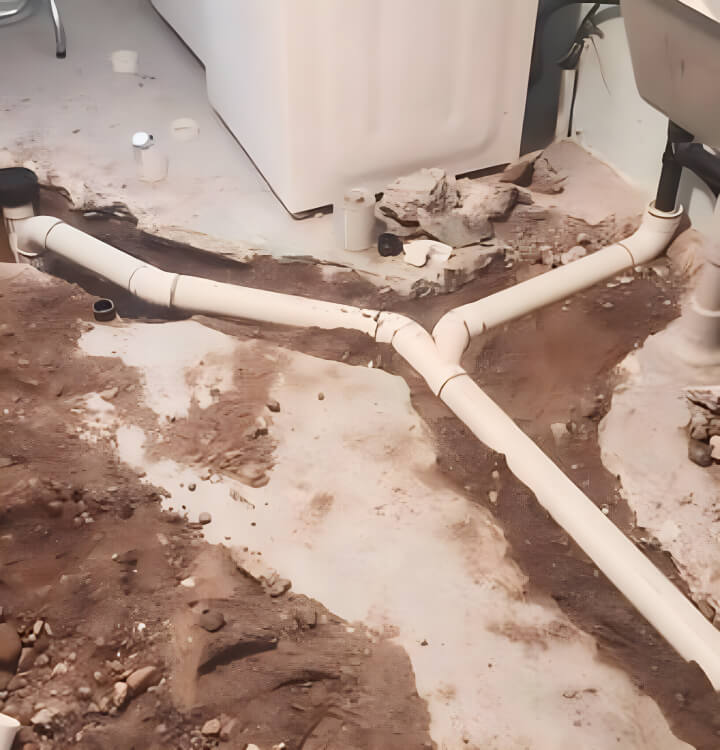
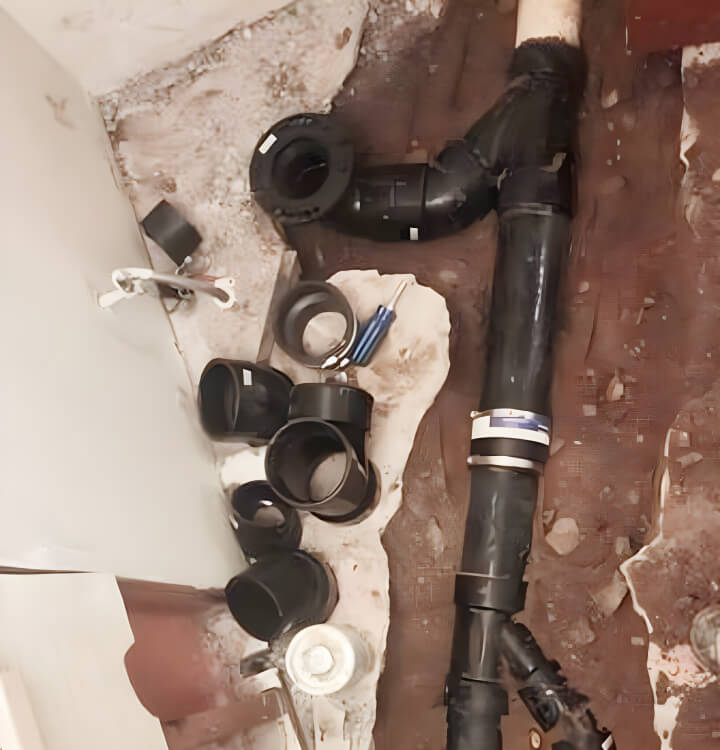
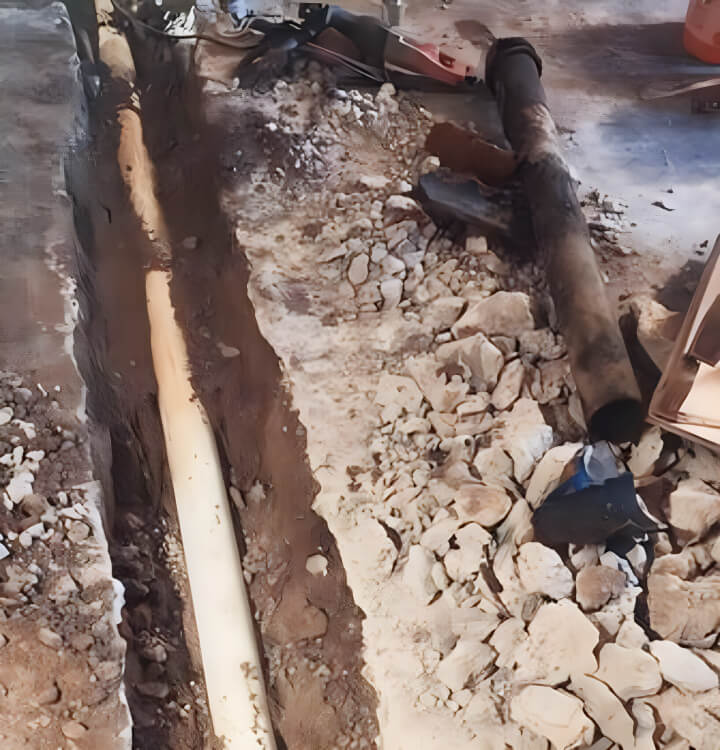
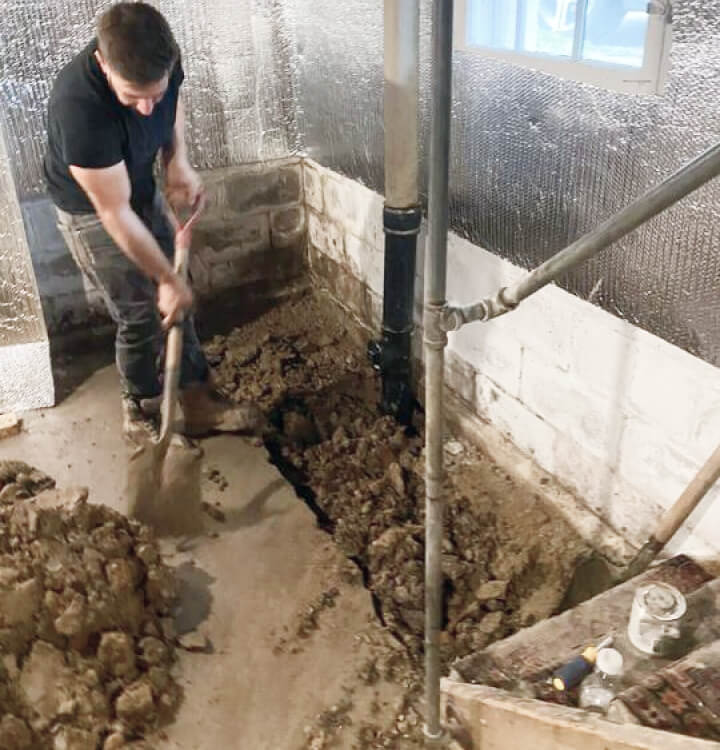
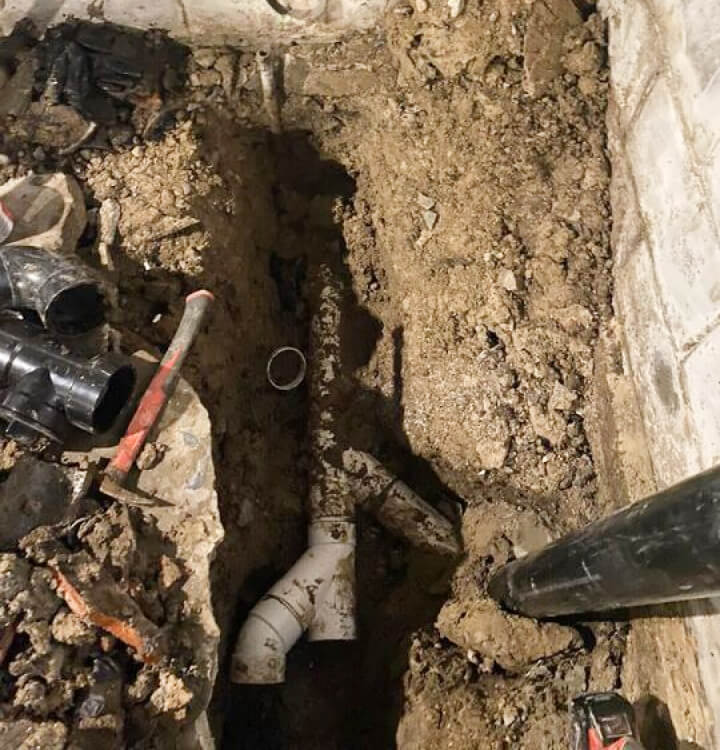
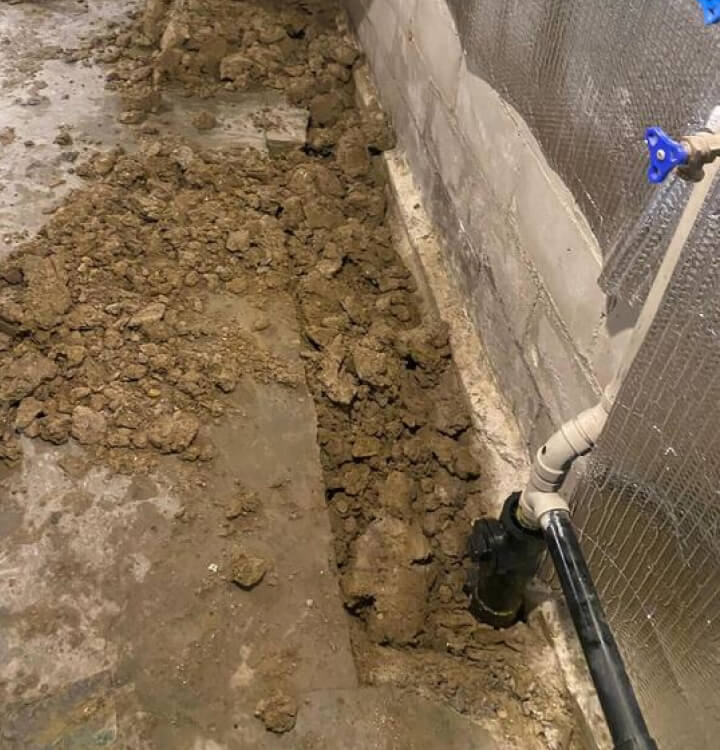
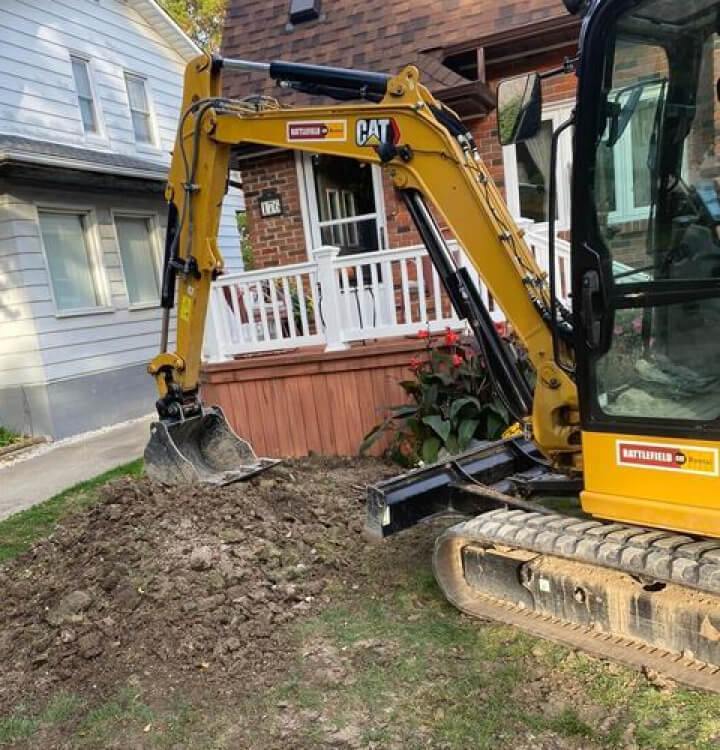
Drain line installation – reach out to experts!
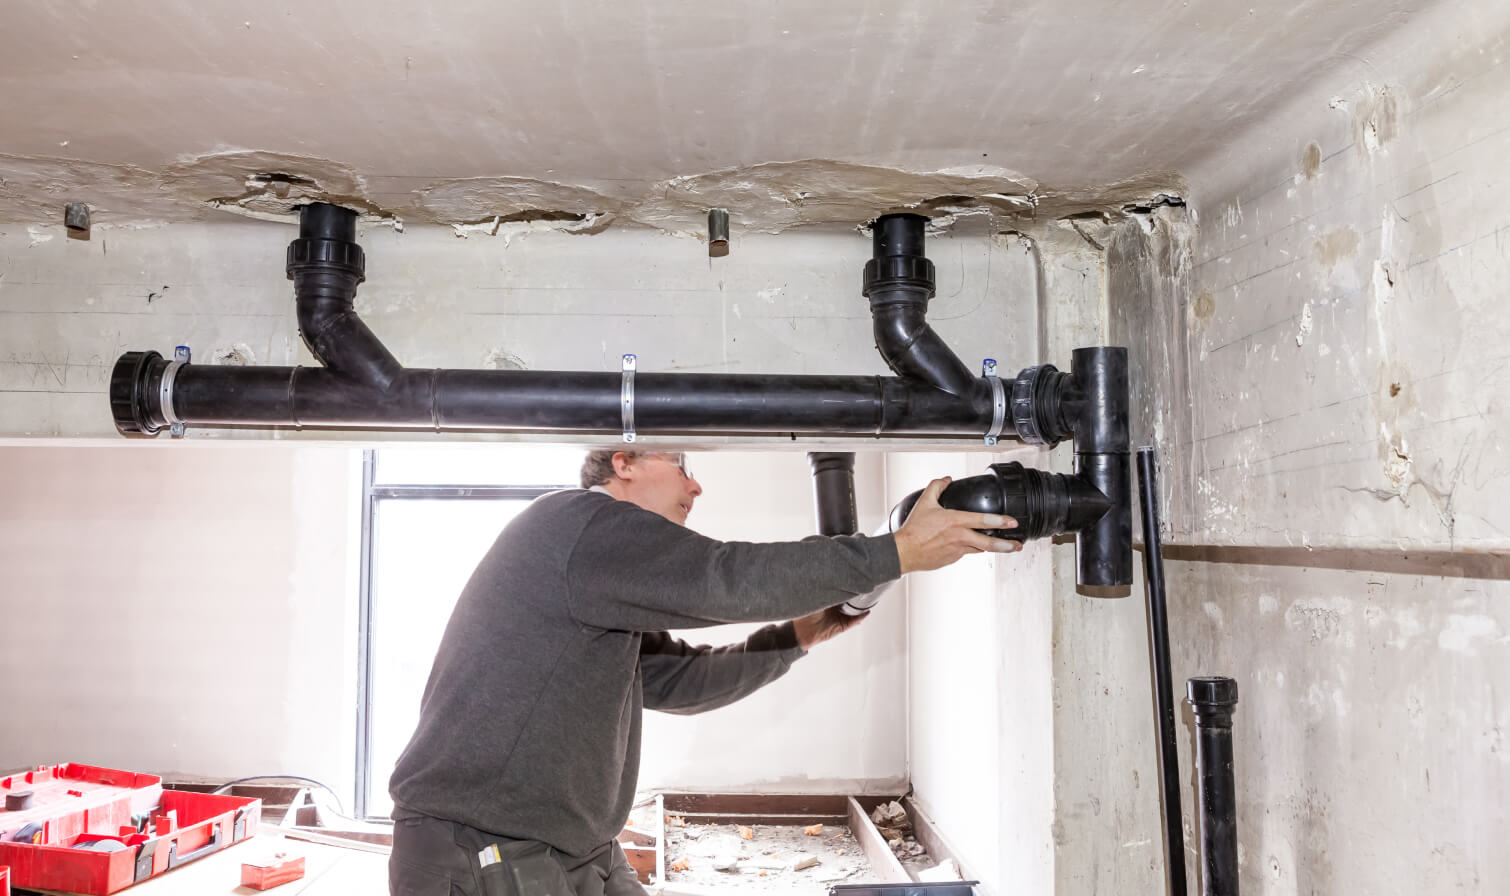
There is a pipe network behind the walls and under the floor of your home that drains all of the wastewater to the sewer system. It is important to grasp the difference between a sewer line and a drain line. The main sewer line is outside your house, and the drain lines are inside it.
Wherever water runs in your home, it flows down the drain. Your sinks, bathtubs and showers, as well as dishwashers and laundry machines, have drains that connect to pipes that carry wastewater to a vertical drainage pipe, sometimes called a soil pipe. From there, it is taken into the main sewer line. Proper drain line installation is crucial for safety and comfort in your house, as excess water can have a really destroying effect.
Before the project starts, consider the following:
- Drain lines must be accurately positioned and routed in front of the supply pipes;
- If you need to run drain pipes through the floor, carefully calculate the amount of vertical space available;
- Sometimes it’s hard to imagine how down the line will go through the walls and floor. When you begin to assemble the parts and check them for fit, you may need to change your plans;
- Some inspectors prefer that horizontal vents be sloped so that condensate can flow back into the drain pipes; others do not think this is important. To be on the safe side, make the vents sloped.
The whole installation process includes:
- Choosing drain configuration (indirect connection, parallel or opposite side);
- Aligning the main drain line;
- Inserting the assembly;
- Placing and securing the pipes;
- Aligning and gluing;
- Running the pipes;
- Assembling fittings;
- Cutting notches;
- Dry-fit and installing;
- Levelling and drilling;
- Placing a sanitary tee;
- Connecting to other pipes;
- Checking for leaks.
For high-quality, timely and efficient drain line installation, count on Superior Plumbing & Heating. With us, no job is ever left unfinished. Our trained professionals understand how important it is to have a fully working draining system and how unpleasant a drain blockage can be. We will make every effort to have your new construction plumbing project, drain line installation and all other emergency plumbing services expertly handled by our skilled plumbers!
Perforated drain pipe installation requested and done today!
Drain pipes may seem easy to install and tempt you to install them on your own. Despite its apparent simplicity, the overall construction is actually tricky and requires certain skills. What you might call “drain pipes” are actually three key parts joined together: the sink drain, which runs from the sink down to the bendy pipes; the bendy part of the drain pipes, called the trap because of the way it traps or rather contains sewer gasses; and the drain pipe itself, hidden inside the walls.
Hooking the sink to the drain system implies a sequence of steps:
- Find a plumbing stopper. Place a shallow pot or bucket under the existing siphon to catch water from the siphon;
- Remove the actual drain pipe assembly. Chrome plated pipes can be more complicated to detach than PVC drain pipes. Unscrew the nut that holds the shank to the sink drain basket and the one that secures the straight piece on the end of the siphon to the wall drain in the same way. Unscrew both connectors as you support the assembly and lower it;
- Wash the sink strainer threads where the tailpiece attaches to the sink with a brush and hot soapy water to remove any debris buildup. If there is a lot of rust, replace the sink strainer;
- Attach the new tailpiece to the sink strainer. Put the lug nut on one end of the shank, threaded up toward the sink strainer, then screw clockwise onto the threads of the sink strainer. Tighten the coupling by hand only after making sure it fits well;
- Likewise, connect the straight section coming from the drain. Slide the coupling onto the wall pipe, but tighten by hand only until the assembly is complete;
- Put the coupling nut on either end of the P-trap pipe and insert the washer. Screw each coupling onto the appropriate attachment point, drain pipe on one end and sink shank on the other;
- Examine the joints and assembly to make sure they are not overtightened or moved out of place due to lack of space.
Attaching a pipe to your plumbing system is a fairly complex project unless you are plumbing savvy and have the necessary skills. At Superior Plumbing & Heating, we know exactly how to install sink drain pipe in a professional and efficient manner. We have all the equipment needed to accomplish any drain plumbing job. Our licensed specialists do all work in accordance with the requirements of the Plumbing Code. We don’t cut corners and will always give you an honest opinion on what and how we think should be done!
Save hassle and money with professional underground drainage installation
A drainage system lives underground. It is composed of a mixture of pipe segments and joints. Underground drainage is commonly referred to as a sewer system because it is mainly used to transport sewage or wastewater directly to a sewage treatment plant. This system can also be used to divert rainwater into an absorption system or into a watercourse.
Most people don’t even realize that there are two types of drainage systems in their homes: one for wastewater and one for surface water.
Surface water drainage comprises rainwater and runoff from driveways, roofs, gutters, and pond overflows. This water can be safely returned to waterways without treatment. If it is not diverted away from your property, it can accumulate and undermine the foundation of your home.
Wastewater drainage flows water from bathrooms, toilets, kitchens and washing machines. Untreated wastewater should never be discharged into a waterway because there is an unacceptable risk you could contaminate nearby rivers and even drinking water, so it is extremely important to avoid this.
How to install underground drainage? The several-step process of installing an underground drainage system looks as follows:
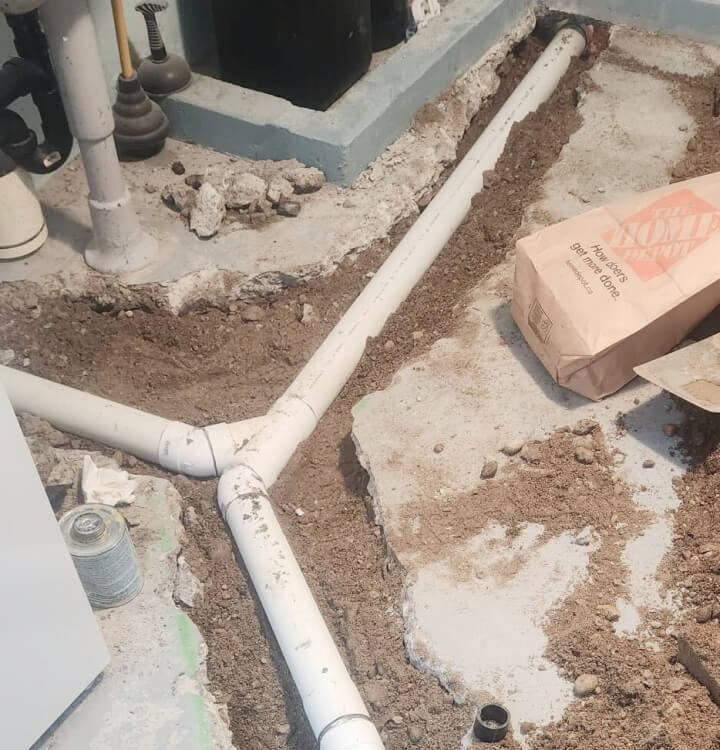
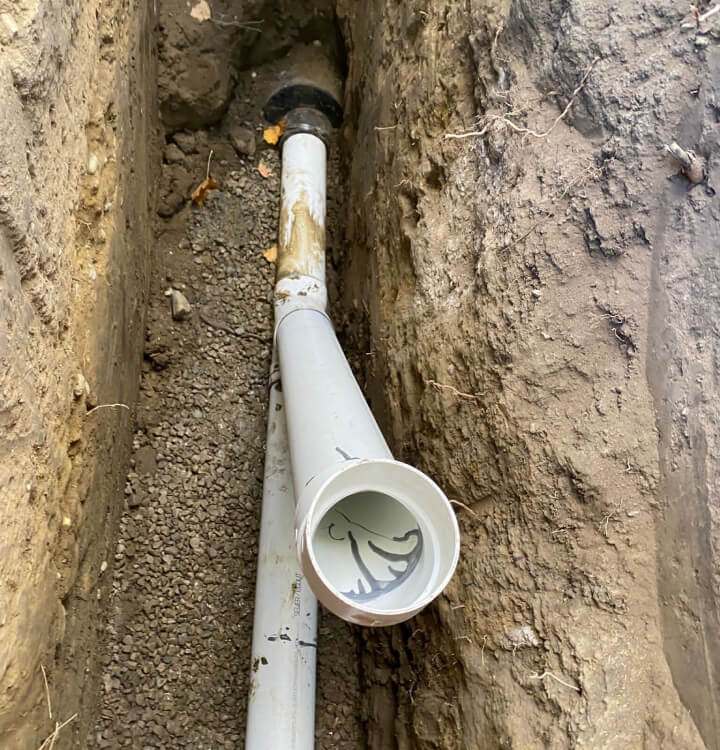
- Dig a trench (the trench must be dug in accordance with standards and building regulations to ensure that all health and safety regulations are met);
- Lay the pipe support (form a bed for the pipe in the newly dug trench – this is where the pipe will lie when it is set for installation);
- Plan the main components (it is important to plan where all the basic elements of the underground drainage piping scheme will be located; inspection chambers should be aligned so that water flow is kept in the channel, minimizing the risk of clogging in the future);
- Cut the pipe (measure and cut the pipes at a 45-degree angle; connect the pieces together using silicone grease);
- Fill the trench (after laying the pipe, backfill the trench you dug to install it).
If you have no preparation and have never done underground drainage work before, we strongly recommend that you call a professional drainage company, which will do the task for you. At Superior Plumbing & Heating, we are happy to assist and guide you in installing the underground drainage system. We get that this kind of work can have a substantial impact on your budget, so we do our best to help you cut costs. One way we do this is to ensure that everything we offer comes at a fixed price, which is way cheaper than trying to install underground drainage pipes yourself. Choose our services as an experienced drainage company if you prefer to have the work done professionally!
Snaking the main drain line – fast and safe
A plumbing clog often affects a single sink, tub, shower or toilet, but if more than one fixture is clogged, the main drain line may need to be cleaned. A plumbing auger – also called a plumbing snake – is an effective tool to do this.
It is a flexible and thin auger that disperses clogs in your home’s drains. The plumber’s snake comes in handy when dealing with severe clogs that usually cannot be cleared on your own.
Step 1: Remove the cleaning plug
Find the plug located on a large drain pipe in places such as the basement, garage or near the foundation of the house. Remove the plug with an adjustable wrench. Wastewater can leak out, so stand back and be careful. If the drain line is vertical, place a bucket under the drain hole.
Step 2: Apply the snake
When using the auger, push the cable through until it reaches the obstruction. Turn the handle clockwise to plunge the tip into the clog. Twist, push and pull to break the cord and unblock the drain. Work the snake in both directions of the drain line – back toward the house and out away from the house.
Remember, in the case of a clog, nowhere does it say that you have to remove it yourself with a tool of any kind. Snaking main drain line should only be operated by properly trained professionals, as they can cause injury and damage.
If you feel more comfortable calling Superior Plumbing & Heating, we will be happy to come and help you out. After decades in the business, we know how to snake a main drain line professionally and can guarantee all of our services. With a full fleet of equipped trucks, certified plumbers and dedicated office staff, we continue to strive for quality every day!
Drain line repair – call in the specs!
Right now, your home may be doing fine. Over time, however, you will find that your drainage system needs to be examined. There are a few red flags that may indicate that serious issues with your drain line are starting:
- repeated cloggings;
- unpleasant odours;
- slow flushing of toilets, showers and sinks;
- gurgling drains;
- persistent problems with insects.
These symptoms are often caused by old drain pipes suffering from corrosion, cracks or wrong pipe joints. If your drain lines are displaying any of these signs, it might be time for repair.
Below we detail some of our services:
- Trenchless drain line repair. Drain problems shouldn’t disrupt your daily routine or business. It’s unsightly to see a part of your parking lot, patio, or landscape that has been trenched over. That’s why we offer drain line repair using the trenchless method. It minimizes the environmental impact while getting your drainage system up and running as quickly as possible.
- Pipe restoration. Are you struggling with clogged pipes? Over time, your home’s plumbing system faces a variety of issues, including corrosion and deterioration. We can make your drain pipes as good as new by cleaning and restoring them.
- Drain leaks elimination. Leaking drains and clogged drain lines can cause harm to your property and health, but they can be tricky to detect. At Superior Plumbing & Heating, we can help you determine if you have a leaking drain and then take the appropriate steps to repair or replace your drain lines.
In cases where the damage is too extensive, we replace the pipes with minimal disruption!
Although plumbers are often not presented in the best light, their work is vital to making our homes as comfortable as they are. At Superior Plumbing & Heating we know what it takes to keep your drainage system healthy and how to perform drain line replacement. If you require a specialist to help determine the condition of your drainage system or help you solve any related problems, we are the experts you should turn to!

 Call us and we’ll come to you